


Good morning! Today I’m sharing these Christmas pillow shams I made over at Create.Craft.Love. last month. They’ve been adorning my home for weeks now, and I love them. They’re so cozy and they give the room a little warmth that just makes me happy. And I’m sharing another fun project there today (never a dull moment around here) so head on over in a bit!
 It might be November, but it’s snowing and the temperature was zero degrees when I woke up this morning which means I’m not totally out of my mind for thinking about Christmas decor already. And while I don’t typically decorate my house for Christmas until after Thanksgiving, I was feeling inspired to do some Christmas pillow shams when I was working on this Advent Calendar the other day.
There’s something cozy and fabulous about a good-quality felt. And it’s fun for appliqué because it’s sturdy and doesn’t fray, meaning your projects don’t take as much finish work. And I’m a huge fan of creating shams for my pillows because they’re easy to stash away until next year without all the bulk.

So today I’m going to walk you through how I made my Love and Joy Christmas pillow shams so that you can make your own! I will be referencing two different tutorials (one for appliqué and one for the pillow sham construction) so make sure you check them out for more details.

Christmas Pillow Sham Supplies
- Assortment of wool felt
- A printout of your chosen designs
- Double-sided iron-on adhesive (like Heat ‘n Bond)
- Embroidery floss and needle
- Sewing machine and thread
Instructions
- Cut your front and back pillow pieces using the pillow sham construction tutorial for dimensions. Prepare the back pieces as instructed in that tutorial.
- Print your chosen designs on a piece of paper, and cut them out.
- Cut your design pieces using this appliqué tutorial, and arrange them on your pillow front. Pin in place.


- Sew your pieces to the front of your pillow sham. I used clear thread in my sewing machine so I didn’t need to change thread color.


- Sew any details you want using your embroidery thread and needle.


- Finish your Christmas pillow sham following the rest of the pillow sham tutorial.

And now your regular pillows are ready for a little Christmas cheer! Would you make Christmas pillow shams?
You can also check out a few of my other pillow tutorials:
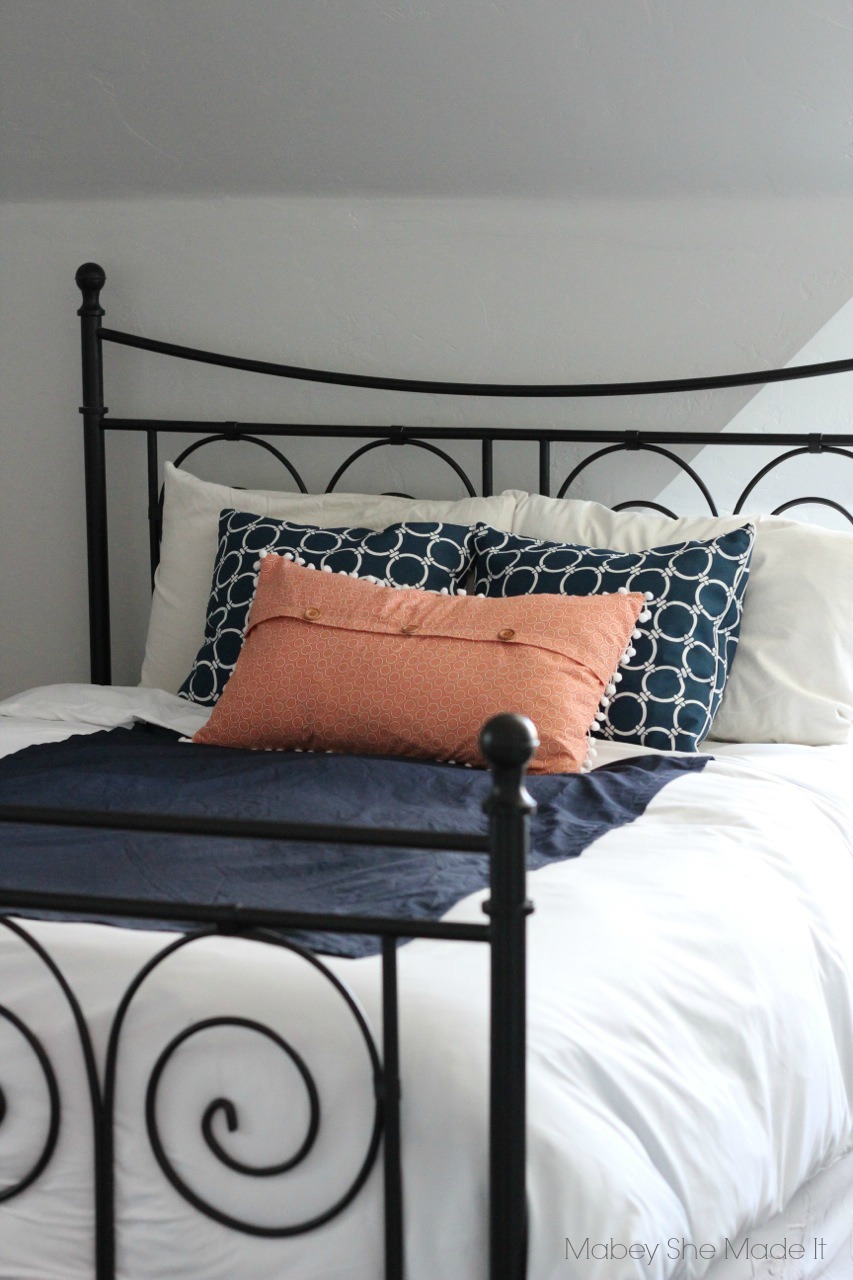
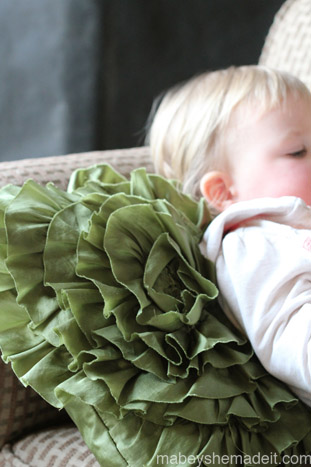
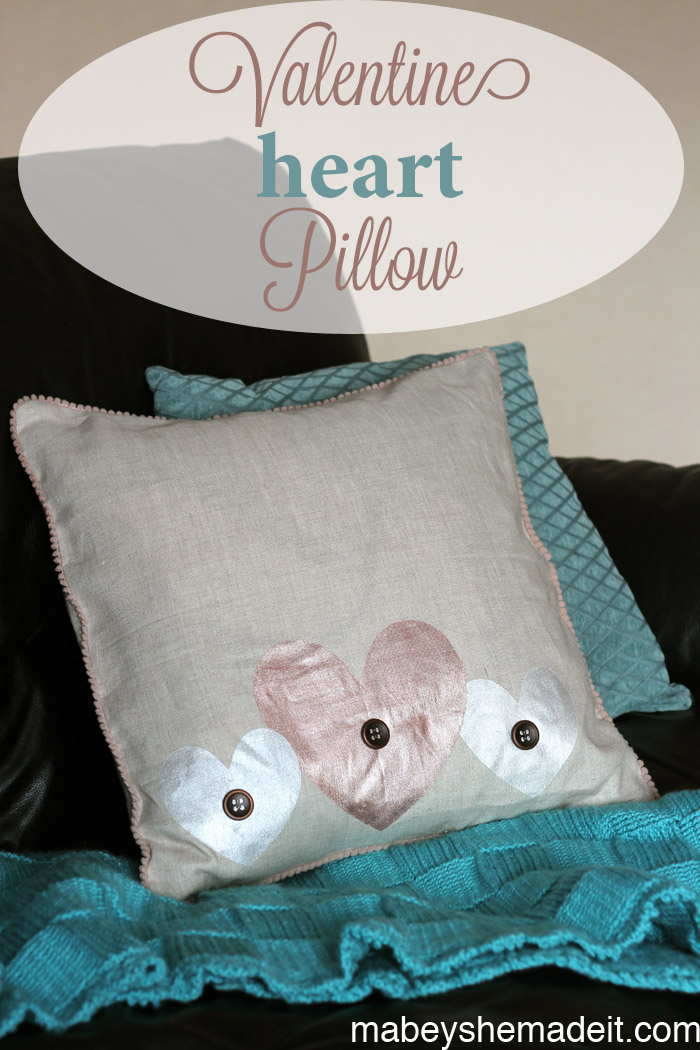
Pom Pom Pillow Sham with Faux Buttons || Spiral Ruffle Pillow || Stenciled Heart Pillow
Follow me on Facebook, Twitter, Pinterest, Google + and Instagram.