


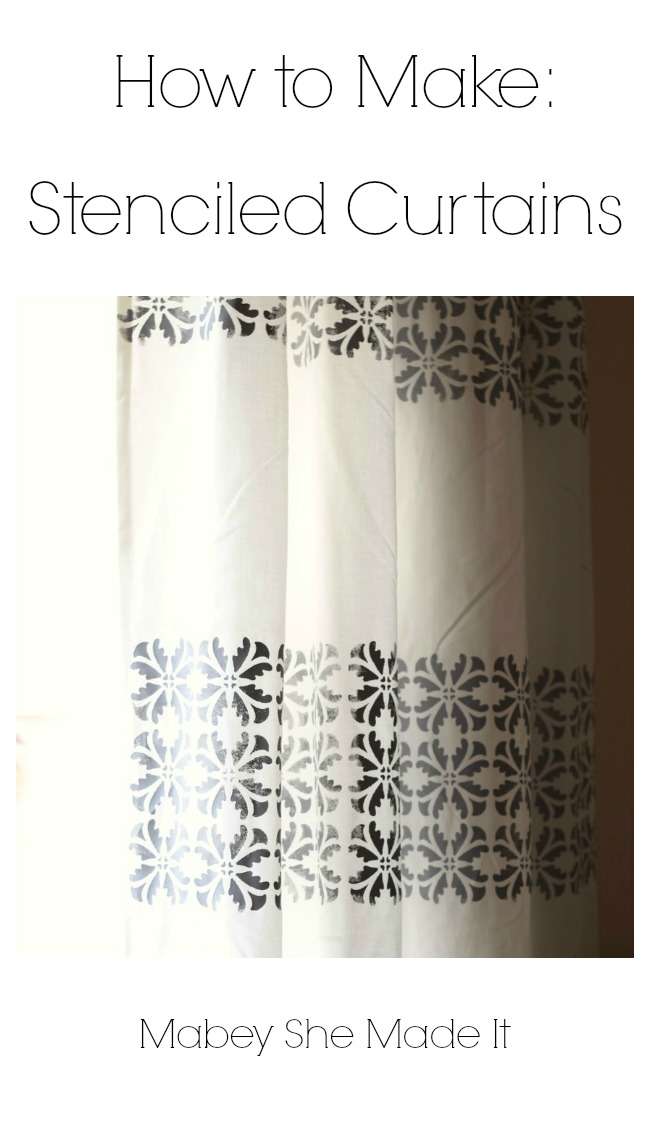

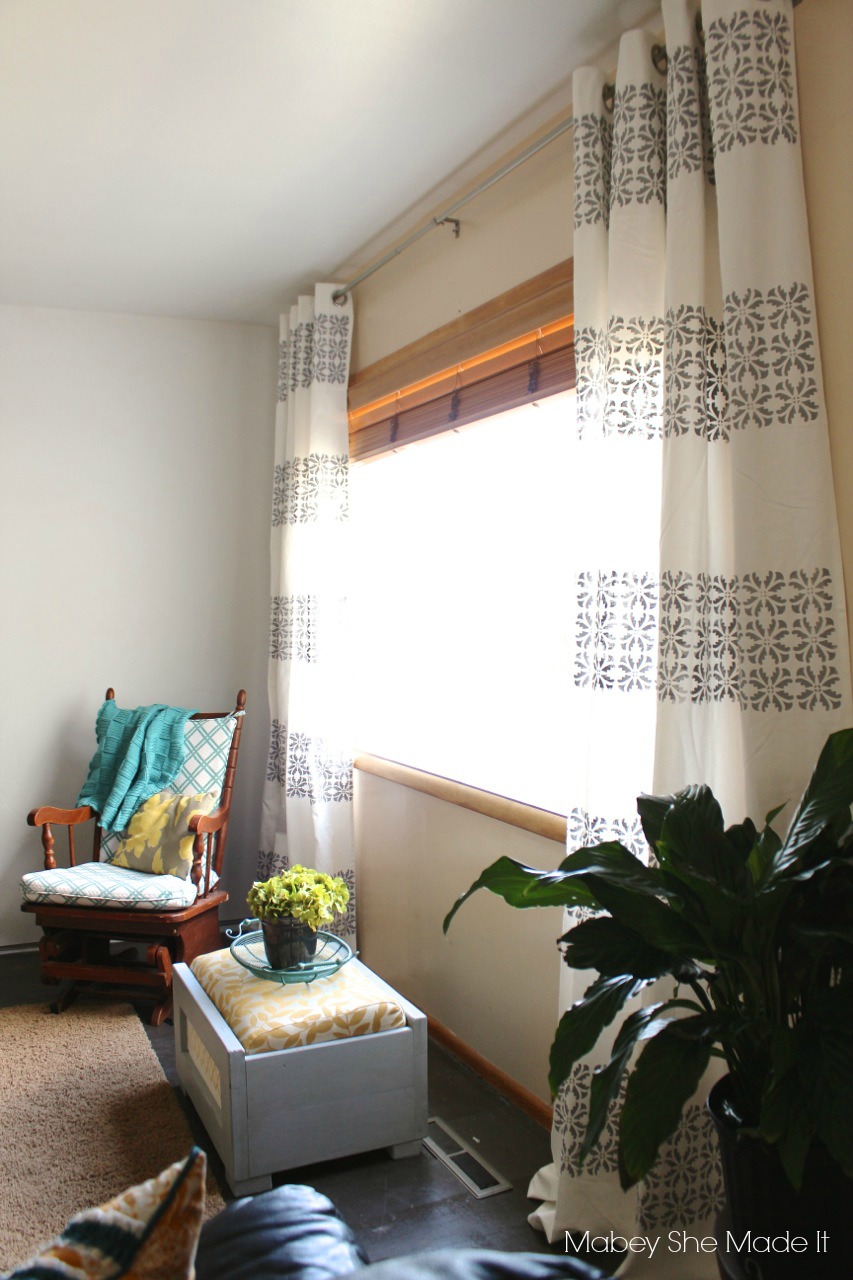
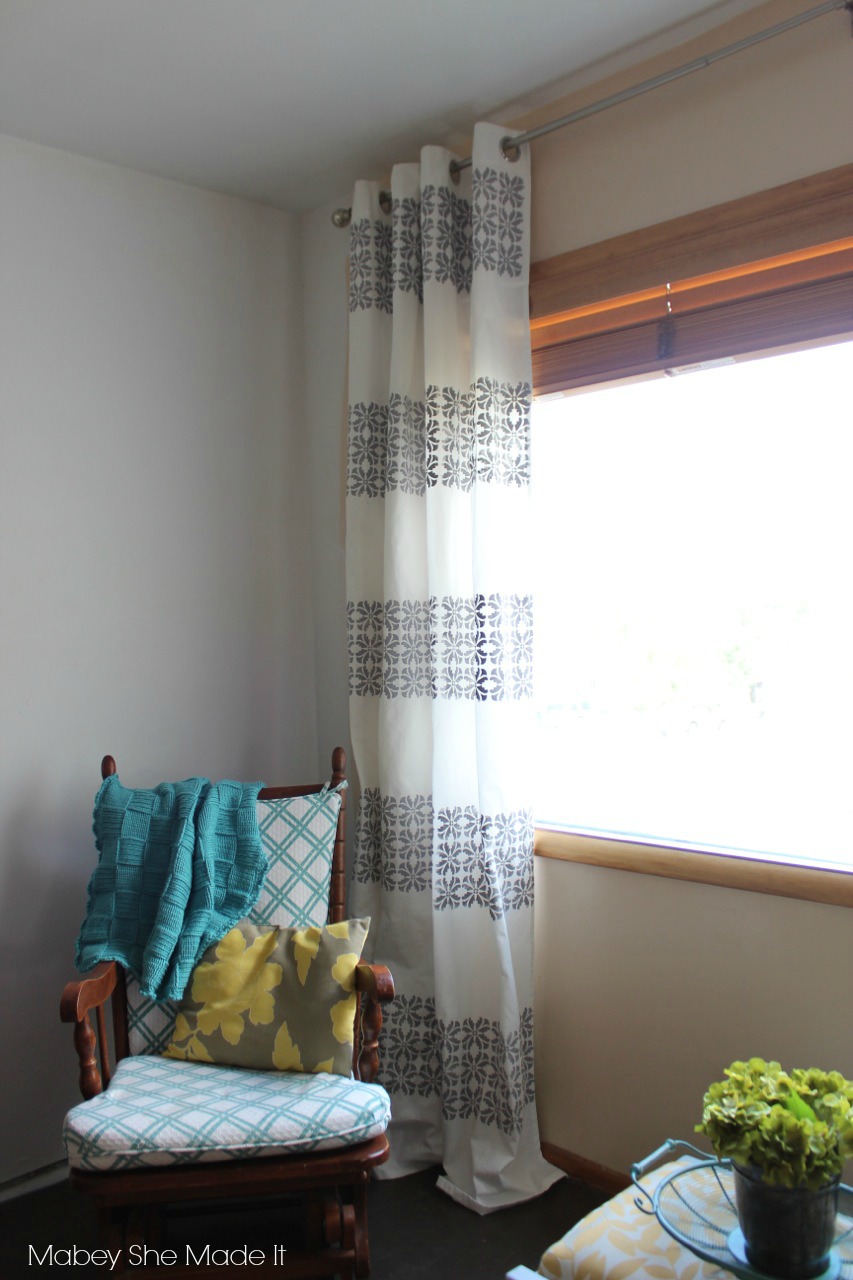
I’m excited to share these stenciled curtains for my living room with you today. The living room is a huge room which we’ve separated it into two functional areas–a sitting area and a dining area. However, the room still hadn’t made it to the top of my list for decorating, so it kind of felt like a huge void. Just to give you an idea, my girls call it the “loud room” because it’s empty and echoey. Curtains were a great way to make it feel a little more homey AND take out some of the echo.
When Royal Design Studio let me choose a stencil to review, I couldn’t help but fall in love with this Adana Abstract Floral Furniture Stencil. I liked that it was a mix of geometric and floral designs and that it was small enough I could use it for lots of different projects if I chose.

This room also gets some pretty good light due to three large windows. Curtains for three large windows costs a lot though, and I didn’t really want to spend a lot. Sooo…it was time to DIY by turning inexpensive white curtains into customized panels that are just what I wanted. I love stripes and I love geometric designs, so it was exciting to be able to combine those into a geometric designed striped curtain using the Adana stencil! I also used some latex paint that I already had, which made it match my decor and saved me money. But you could also use a mix of acrylic paint and fabric medium if you wanted to.
Here’s how I did it:
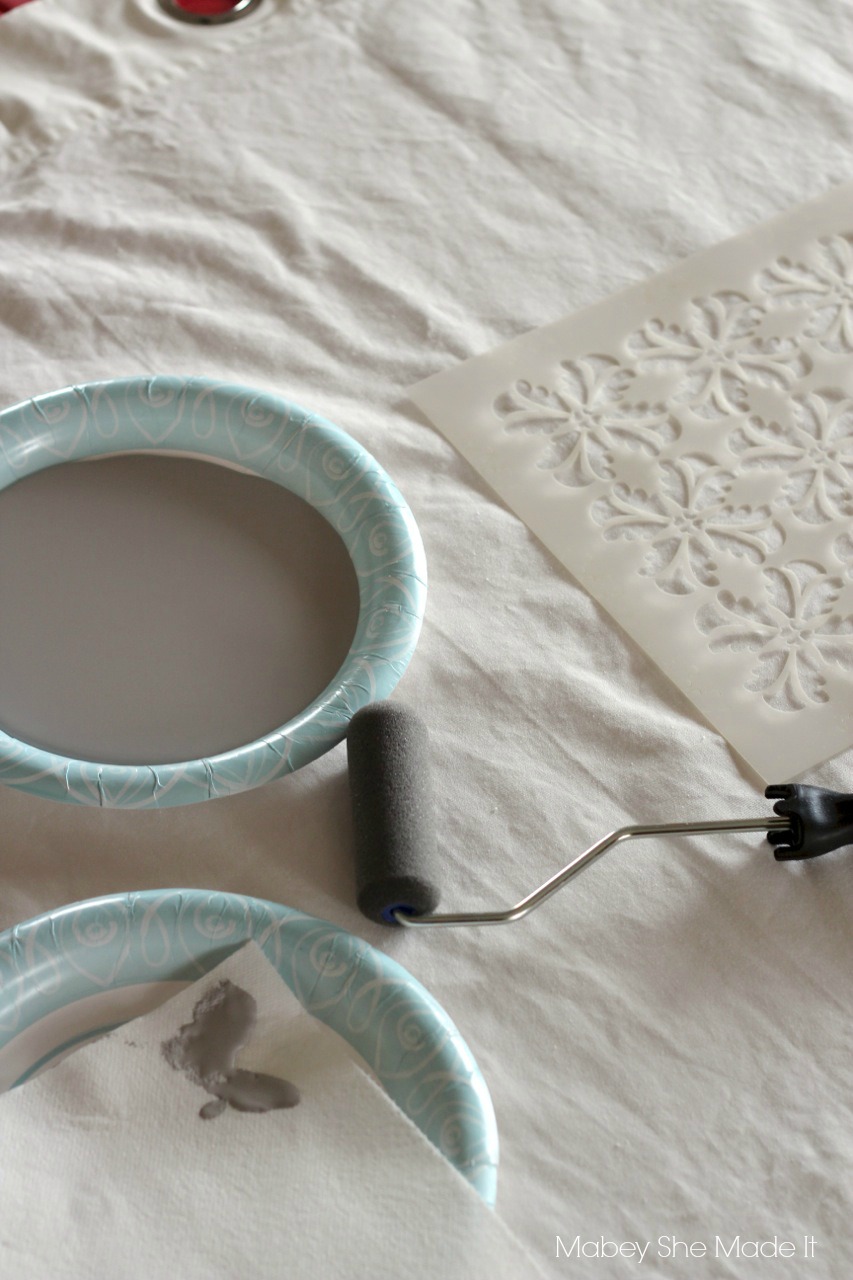
- Set up. Protect your workspace with something plastic (I used a plastic party tablecloth) and tape it down so it doesn’t move. Get a tray (or paper plate) for your paint and one for getting rid of excess paint. Set up your curtain panel, and you’re ready to go!


- Place your stencil on your panel. Since I was doing a continuous stripe, I started at one end and worked my way across the panel. Load your roller with paint, then roll some of it off onto a paper towel.
- Roll the paint onto the stencil, making sure to get all the corners covered evenly. Then pull up your stencil, and you’re ready to go again (when the paint dries a little). The nice thing about these stencils is that the registration mares make creating a continuous pattern simple and almost effortless. Just line them up according to the diagram that comes with the stencil, and you’ll get perfect lines!


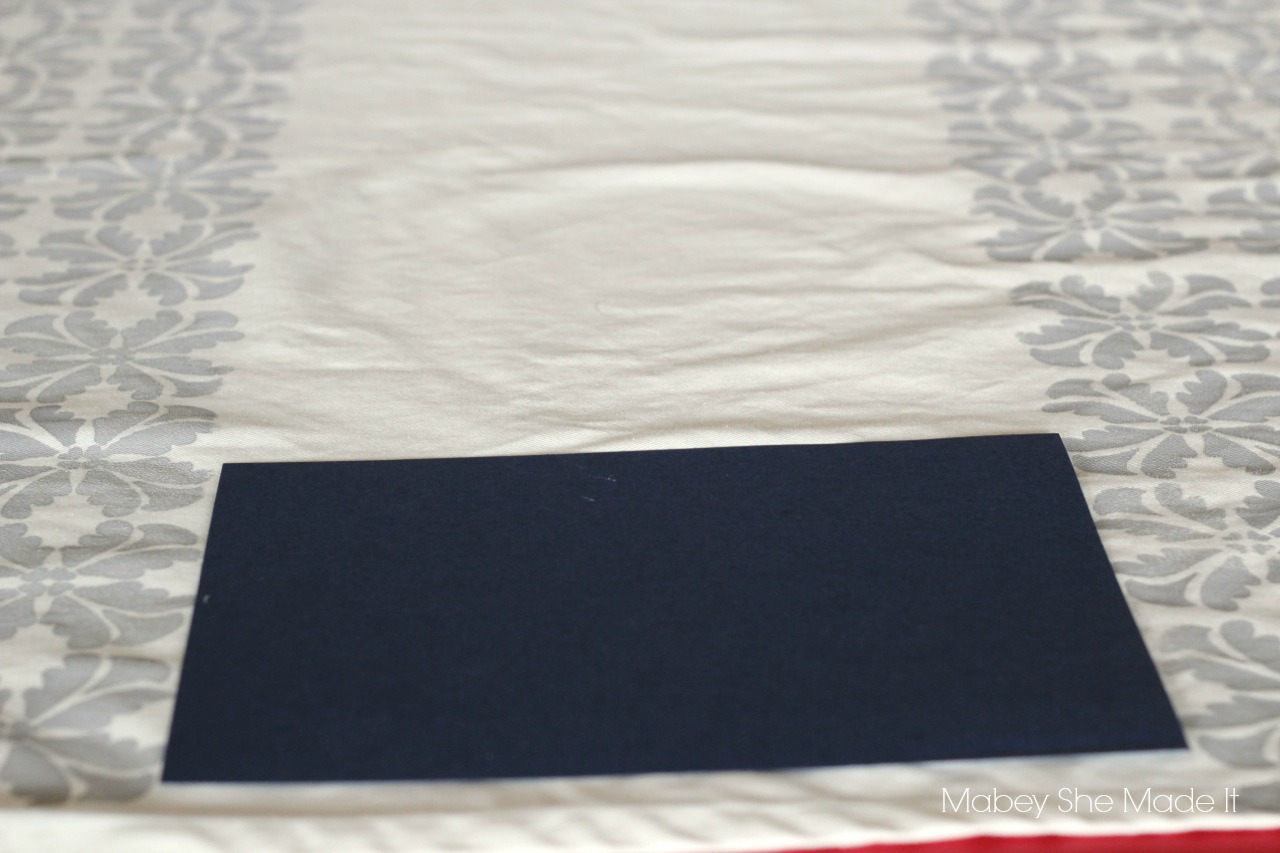
- Since I wanted to create stripes, I needed to create equally spaced lines. Since the stenciled pattern is 9″ tall, I cut a piece of card stock to 9″ and used that to line everything up and keep the spacing equal.


- Keep stenciling until your panel is complete, then let it dry before hanging up. You may even want to heat set it if you’re using fabric medium and acrylic paint. I used house paint, so I didn’t do this step.
And that’s it! After I got the hang of it, it went really fast, which is good becauseI ended up doing four large panels–two for each of the biggest windows.
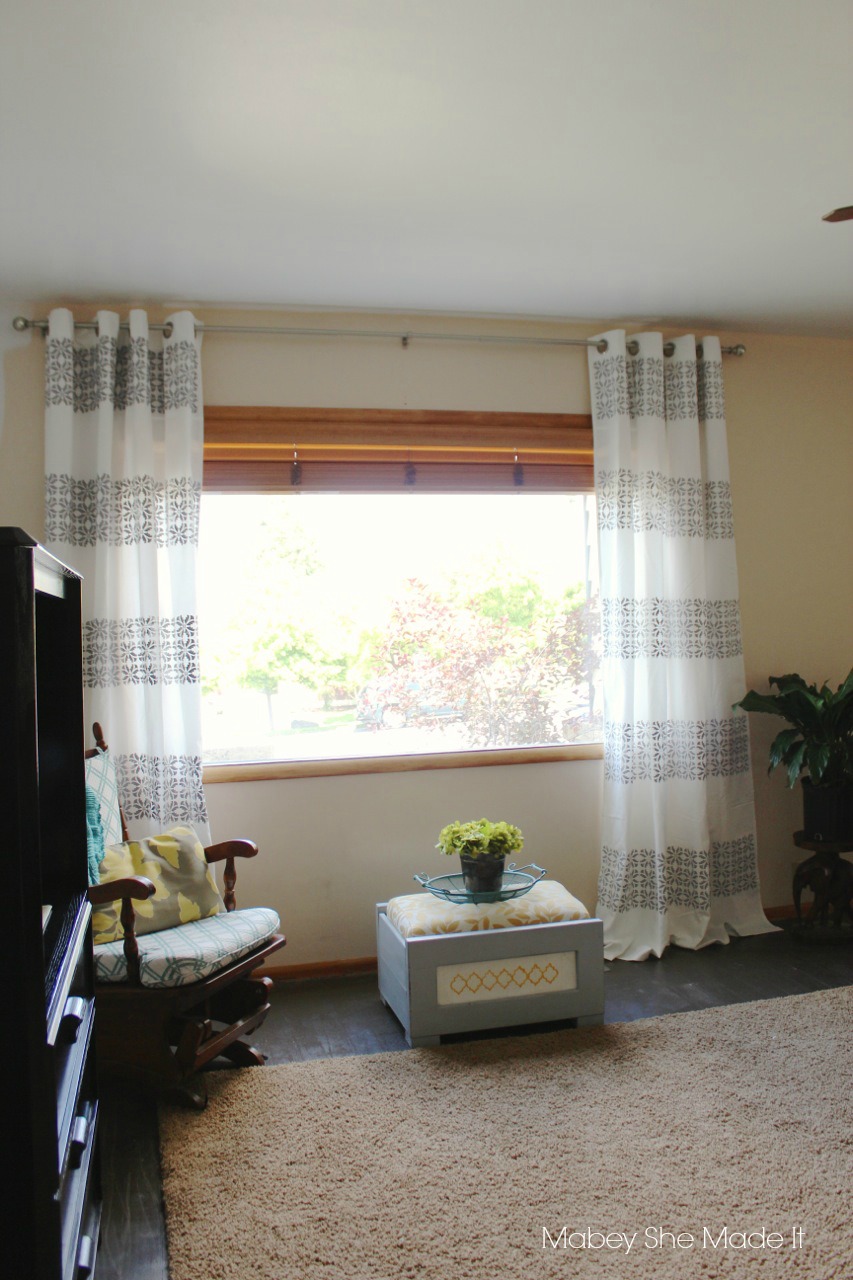
I absolutely love how they turned out! They look really good and the images are crisp and beautiful. I’ll definitely use this stencil again–perhaps on a pillow or decor piece in this room and again in another room to create a cohesive feel throughout.
I also learned a few things that made it easier and gave great results.
Tips for great stenciling:
- I used stencil adhesive to keep everything in place, and it made a HUGE difference. When the tack started wearing off, I’d just apply a little more so I didn’t have to worry about my stencil moving while I was rolling.
- Use a foam roller for large projects. If I had used a brush on a project this large, it would have taken WAY longer. However, the roller made it quick and gave an even coating of paint.
- Always roll or wipe some of your paint onto a paper towel before stenciling. Less is more here. You don’t want globs of paint seeping under the stencil, so make sure your brush or roller isn’t fully loaded.

Making and hanging the curtains also got me to rearrange the furniture a little and create a more inviting space. I really love this part of the room now! I’ve been sitting in this rocking chair on and off all day enjoying the new look and feel and wondering why I hadn’t done this sooner.
I love the stripes, I love the pattern, and I love the customized look I was able to create. I want to stencil everything now!

So what do you think of my stenciled curtains? Is stenciling something you’d do? Well you’re in luck! I get to give away a $50 shopping spree, so come enter to win your own stencils!
I have been considering stenciling curtains for a long time. I have to say the custom look it gives really gives a room a lot of character! Love your suggestions and tips!
-Pam
Thank you, Pam! I see a lot more stenciled curtains in my future. I love how unique they are and that they’re just the pattern and color I wanted.
Stopping by from Flamingo Toes. You did a lovely job. I’ve been thinking about trying stencils for a while now. I think you may have pushed me over the edge! Lol.
~Jenise
Hi Jenise, if I’m going to push someone over the edge, I’m glad it’s this kind. 🙂
Wow! They look so elegant and beautiful. I have been day dreaming to stencil curtains for our bedroom for a long time now. Your curtains really inspired me a lot. Thank you for sharing.
Roopini,
Let’s Make It Lovely
Ahh,thank you Roopini! That’s so sweet of you to say!
These are really really beautiful! I saw your link on I heartnaptime Link Party, and I just had to come see how you did this! I’m a little intimidated by projects like this, but maybe I’ll just go for it! If my curtains turn out half as nice as yours, I’ll be super happy! Thanks for sharing! 🙂
Wow, these turned out great! How you were able to get your stencil lines so clean and perfect is beyond me! Thanks for sharing at The Makers, pinned 🙂
Thank you Katie. The clean lines are from small amounts of paint and stencil adhesive that kept things from shifting.
I love how these turned out! They look amazing. Thanks for sharing with us at The Makers! We are so glad to have you!
Thanks Corey!
These are beautiful! Great job!
These turned out amazing, very pretty but still subtle and elegant. nice work!
Pretty! Love your pattern and paint color:)
Thank you Michele. The pattern and color combo really stands out.
These turned out beautifully! Pinning! Would love to have you link up with us each week at the DIY’ers. http://biggerthanthethreeofus.com/the-diyers-13/
Thanks for the comment and the invitation Ashley. I’d love to!
I never would have imagined stenciling curtains–absolutely love how they turned it, and I think I could do it! Thank you for explaining.
Hi-Just saw this on Pinterest. I have a pile of Ikea curtains, and I’ve been trying to figure out what to do with them. This looks great!
Thanks Aidel, I hope you are inspired to do something fun with them!
I love this idea. I was thinking of making curtains with a celtic knot design from theartfulstencil.com displayed here: http://www.theartfulstencil.com/home-decor-stencils/celtic-knot/celtic-knot-1
Do you think that this design is too heavy for sheers? Yours are so balanced … and I’m afraid once the stencil is applied I may regret it. Any suggestions?
Thanks!
Hi Regina, I think if you do the right spacing and paint color it could be just fine on sheers. I’d probably go with a lower contrast paint color but I’m not sure what you have in mind.
Hi I found your tutorial through royal stencil’s website. Quick question did you wash your curtains before or after applying the stencil (or both) and is ironing ok after stenciling, or does it mess up the paint?
Hi Kat,
Yes, I washed the curtains before stenciling, and I’ve washed them after as well. If you’re going to iron, just be sure to use a press cloth or iron the back side.