


Here’s another fun project I did last month–this one for Create. Craft. Love. I needed a little something for my sewing space that also added a lot of color, so a pintucked canvas it was!
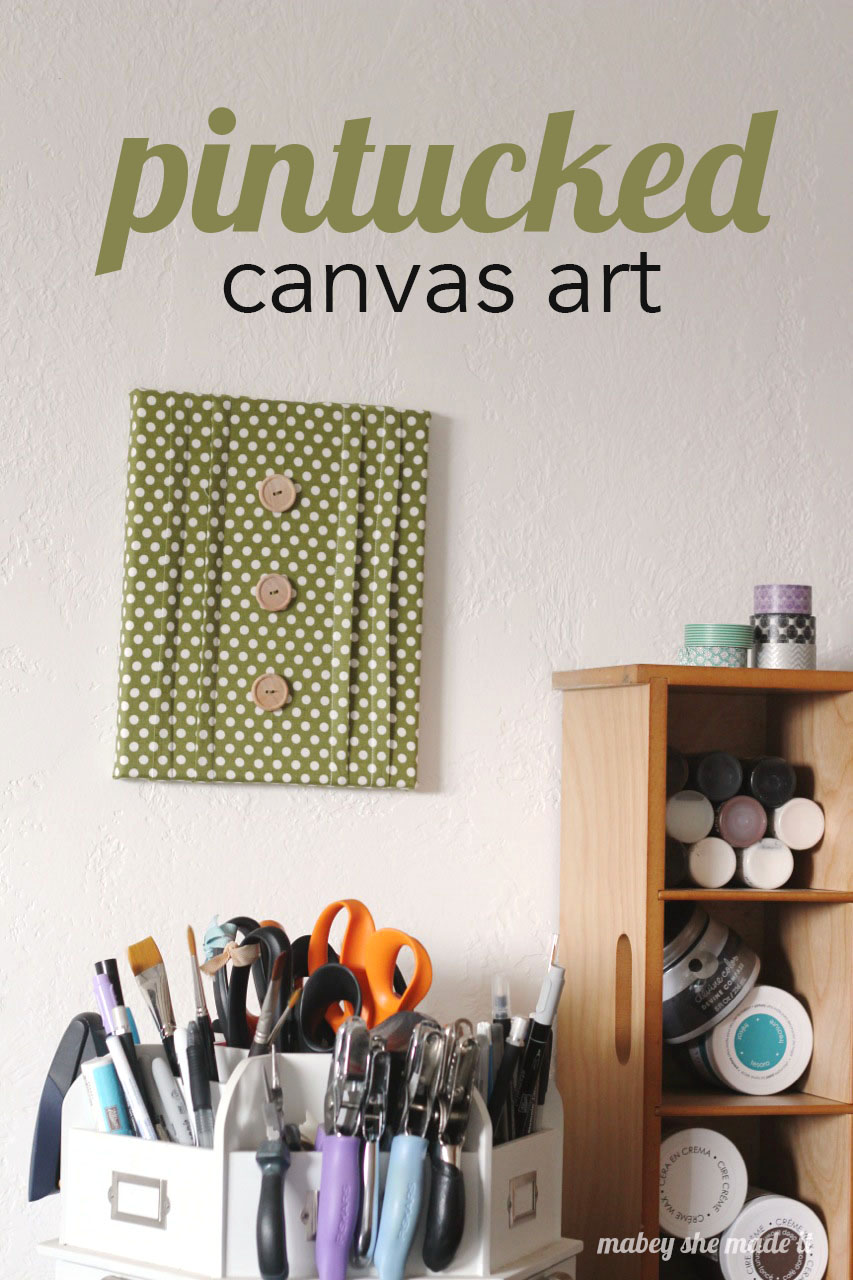 I’ve been wanting to add a little decoration to my office lately, but I wanted it to be something different. I also recently made a tunic with pintucks, which got me thinking…what if I were to put pin tucks on a canvas? So I tried it.
Hi, I’m Lisa Mabey from Mabey She Made It, a DIY, crafts, and sewing blog, and I’m loving how this Pintucked canvas has added just the right amount of sewing inspiration to my creative space.
It’s cute, it represents sewing, and it is a fun way to display a little bit of inspiration along the way.
Pintucked Canvas Supplies
- 8″ x 10″ Canvas
- Fat quarter of fabric
- Sewing machine and thread
- 3 wooden buttons
- Water soluble marking pen
- Ruler
- Staple gun
Instructions
- Find the center of your fat quarter, then mark a line at 1-1/2″ on either side of the center (so you’ll have a 3″ center)


- Then make a line every 1″ on the outside of each of those lines. I made 4 lines total on each side for 2 pintucks per side.
- Take the two lines closest to each other on one side, and stack them on top of each other with wrong sides together. Press your pintuck. Repeat with the other sets of lines.


- With one pintuck as your edge, sew along the marked line. Repeat for all the other pintucks, making sure you’re always just sewing the two sides of your pintuck together.


- When you get done, it will look like this:


- Press your tucks outward, so each side will go toward the edge of the canvas.


- Sew your buttons on to your fabric so they’ll be centered on your canvas. For 3 buttons and a 10″ height, there was a 2.5″ space between each of my buttons.
- Put your fabric right side to the ground, and center your canvas on your fabric, then staple your fabric around the canvas, making sure to pull the fabric taut. Staple the sides first, and then the fabric around the corners.


And then you can just hang it up for a super cute, unique way to decorate your sewing space and add a punch of color anywhere you want. You can play around with the scale of the pintucks to get smaller, more stacked tucks or leave them big.

I hope you’ve liked this fun idea, and that you’ll come see what else I have going on at Mabey She Made It. You can also find me on Facebook, Twitter, Pinterest, Google + and Instagram!
This is such a cute idea! Thank you for the tutorial!
Aww thank you Nesta!
Pinned that one on Pinterest. Thanks for idea !
Hugs!