Today I’d love for you to meet Ula from Lulu & Celeste, a cute blog full of beautifully sewn clothes and other fun projects. Ula does a lot of pattern testing–especially for her two daughters (so cute), so if you’re curious about a new pattern coming out, you’ll want to check out her blog to see if she’s already sewn it up! And of course, she does other crafting as well, you’ll just have to go see for yourself!
+++++++++++++++++++++++++++++++++++++++++++++++++++++++++
Hi! My name is Ula and I blog over at Lulu & Celeste. I’m mama to two little girls, one 4-year-old and one almost 1-year-old (wah! I refuse to believe she’s almost 1!). I mostly blog about the pattern testing I do for my girls and some of my other sewing adventures.
Thank you Lisa for having me! I’m here today to share a baby bunting tutorial with you.
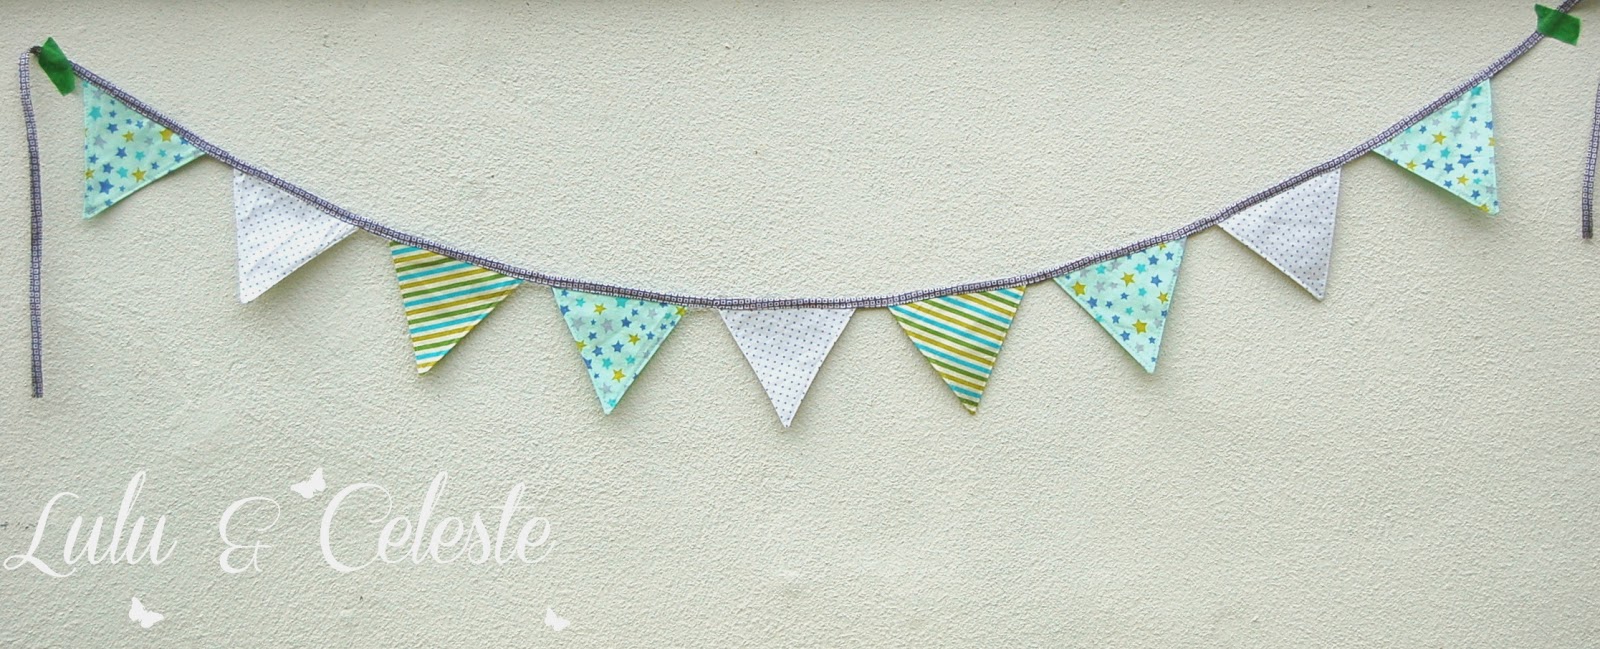
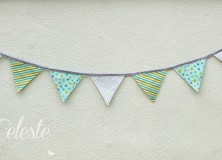
I made this bunting to use as decor for my sister-in-law’s baby shower, I think it tuned out cute! The bias tape was made using the continuous bias tape method. It’s actually not that hard but you could use store bought bias tape if you prefer. There are many ways to make bunting, this a double-sided sewn version with hidden seams. My bunting is 6′ long, with 9 flags/triangles each measuring approximately 5.5″ in length.


Gather your supplies:
- Rotary cutter
- Mat
- Pencil
- Cardstock
- Fabric for flags and bias tape (or use purchased bias tape)
Let’s get started!
- Decide what size you want your triangles to be. For this bunting I made each side of the triangle measure 6″ long with a 1/4″ seam allowance included, so my finished triangles are about 5.5″ long. Draw your triangle onto cardstock and cut out. (Or you could also cut out onto freezer paper).
- Using your card stock triangle, trace onto your fabric. You will need two triangles to make one finished flag. So for mine, I cut out 18 pieces.
- Wrong sides together sew two triangles along the two side edges. Clip the corner and trim close to the point. Repeat with the rest of the triangles.
- Turn right sides out and press. Topstitch along the two sewn edges. (You can skip topstitching if you like, but if you plan on washing your bunting it will probably help to avoid needing to iron it as much.) Press again after topstitching. Repeat for all triangles.
- Make your bias tape (or skip this step if you’re using purchased bias tape).
- Open up the bias tape. Fold the short ends of the bias tape in by 1/4″ and press. Stitch in place.
- Decide on the layout you like. (I plan out on paper before hand what order I want my little flags to go in before cutting). Leave 1″ gap between each triangle. Baste the triangles to one edge of the bias tape in the order you like.
- Fold the bias tape over and sew along the folded over edge. (Even along the edge where there are no flags!)


I'd love to hear your thoughts–leave me a comment!