I love it when I get to learn about and explore new blogs–especially when they have a different feel than mine. Today’s guest is no exception. Nienke from Pienkel has great style, and has done some really great projects–you need to go check her blog out (and take a peek at her three adorable kids)! She’s also done a great job introducing herself (below) so I’ll just let her take it from here with her fabulous wrap skirt!


Supplies:
- Pattern, available as a free download in size 6 via my blog. Print and tape according to instructions;
- Fabric, two different lightweight wovens. You’ll need half a yard of the main fabric and a scrap of the accent fabric;
- Bias tape, 2 yards;
- Regular sewing notions such as scissors or cutter, thread, pins;
- Freezer paper;
- Tulip template, available as a free download here.;
- Textile paint. I used red and green;
- Paintbrush.
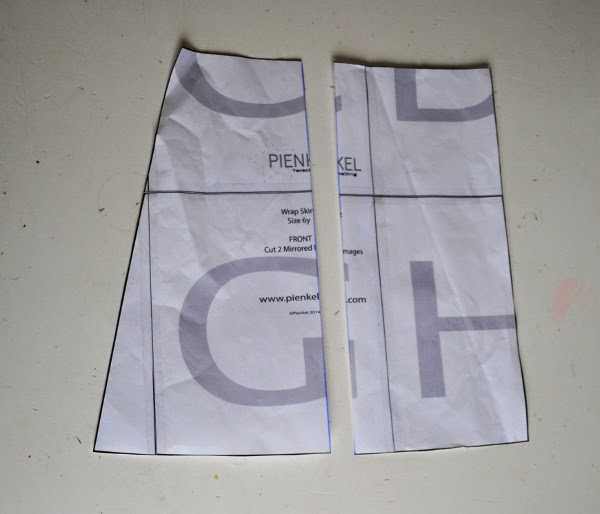
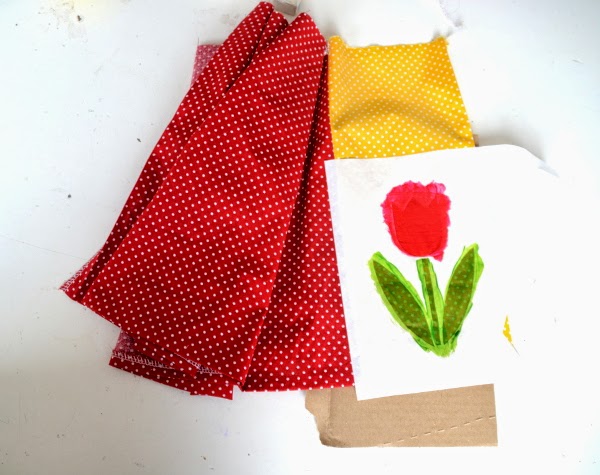
Cut your back piece and one front piece from your main fabric – red in my example. Then cut your printed front pattern piece in two, as pictured above, to create the pattern pieces for colour blocking. Officially you would have to add seam allowance to the vertical line just created, however since this is a simple wrap skirt, a little less width on the overlapping front part doesn’t do any harm, so I didn’t bother. Now cut the side piece of your front, the slightly curved one, pictured on the left side above, from red fabric and the straight piece from yellow. Be sure that the combined colour blocked pieces of the front pattern piece are a mirror image of the solid red front piece you cut before! Now sew the yellow strip to the red part, by pinning them right sides together and sewing with a small seam allowance. Finish the seam with a zigzag or pinking shears and press. Now continue sewing the entire skirt as instructed in the original tutorial.
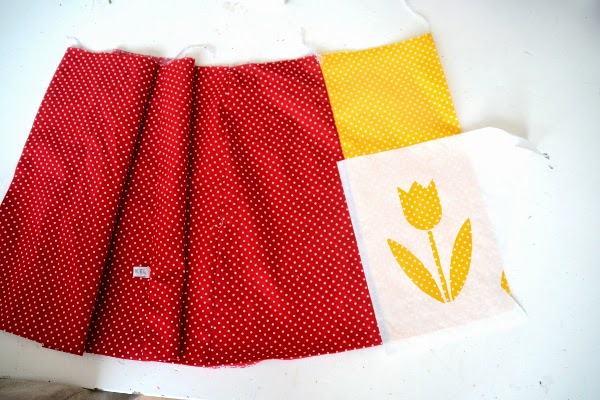
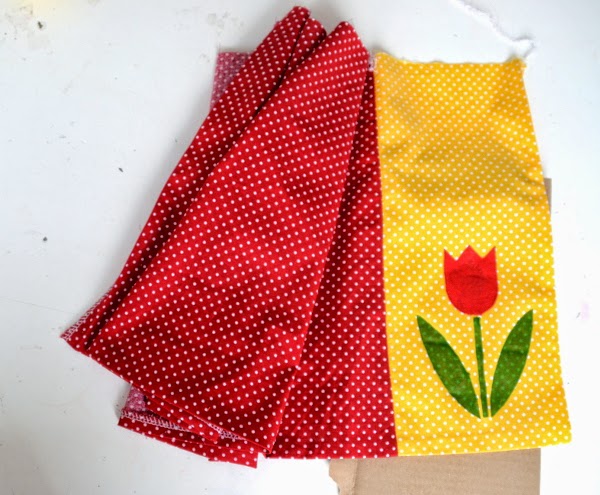
Print the tulip template. Cut the template out of freezer paper. I do this by placing the print on top of the freezer paper and cutting through both layers of paper at once with my exacto knife. Iron the freezer paper onto your skirt panel where you want your image to be. If you haven’t completely finished the wrap skirt yet – as you can see was the case in my pictures – make sure you don’t place the template too close to the edge of the skirt panel, you’ll need some room for hemming.
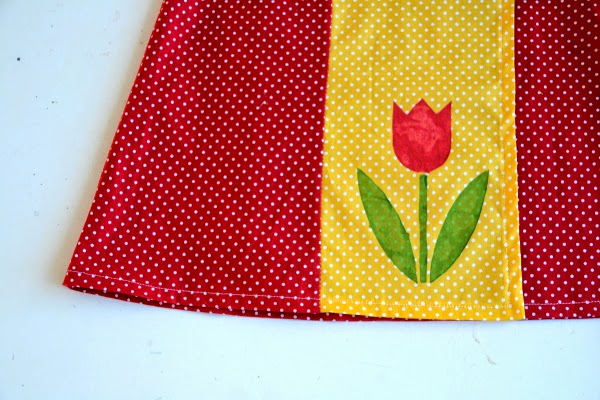
Fill in your template with textile paint. Don’t use too much of it, since it might bleed under the freezer paper. I let the paint dry completely, add another layer of paint and let that one dry as well, before gently removing the freezer paper.
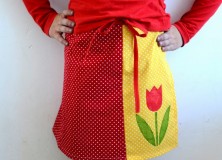
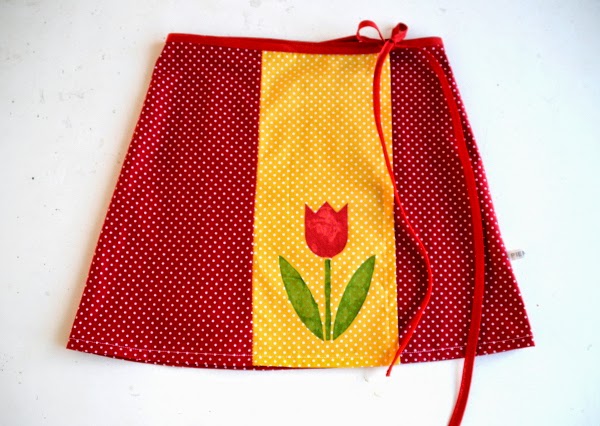
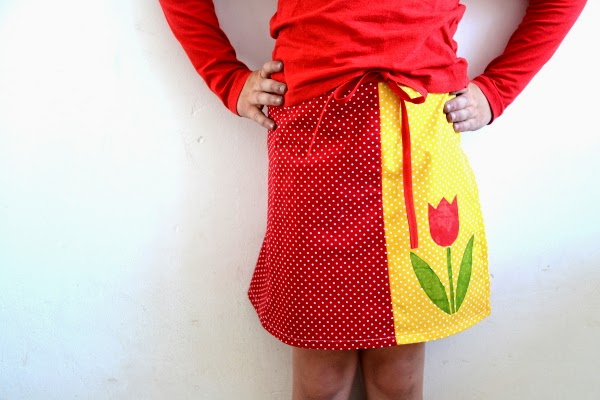
Wrap the skirt around your girl and dream of Holland!


I'd love to hear your thoughts–leave me a comment!