Today I’m bringing home another post I did a few months ago at PinkWhen. I love keeping myself organized, and this board has proved to be a great addition to my craft room. It’s so easy to keep the girls’ measurements on the board (and update them when they grow) so that when I’m ready to sew at nap time I don’t have to guess which size will work best.

Hello! I’m Lisa Mabey from Mabey She Made It, a DIY, craft, and sewing blog. I’m a list maker for sure. It doesn’t matter what it is, if it’s important I’d better write it down because my mind is pretty slippery these days. So there are lists at my desk, on my phone, and just about everywhere else.
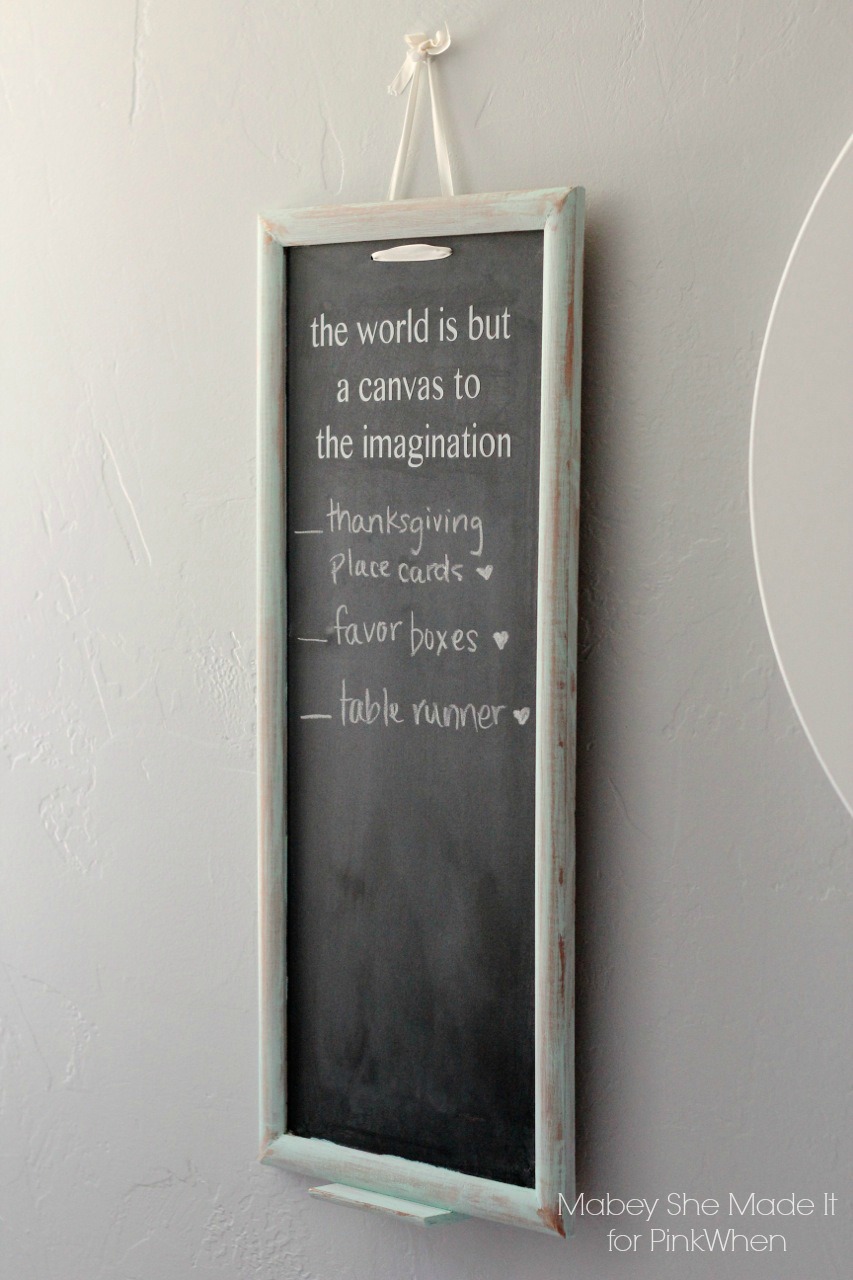
But somehow in the list mania, the craft room hasn’t got a dedicated place for lists. Sometimes I go in there and get lost in all the cool things that jump out at me and I lose focus on the task at hand (like creating something fun for this post….) So the logical thing to do was to make myself a list board.
I wanted it to be a place I could both list projects coming up and a place where I can write updated measurements and notes–like how long my daughters’ inseam needs to be these days. Because it’s the worst when you want to make something and you can’t remember the measurements. This has happened way too many times lately if you couldn’t tell. But now I have no excuses and a handy place to keep all that important information visible.

Supplies:
- Chalkboard
- Wood Stain
- Americana Chalky paint (and brush)
- Vinyl
- Silhouette or electronic cutter
- Ribbon
- Sand paper
- Painter’s tape
Instructions: 
- Tape off the chalkboard area using painter’s tape, and stain your wood. I used some wipes from Minwax, and love how easy they make staining (and no cleanup!). Let dry for 1 hour.
- While it’s drying, cut your saying from your vinyl using an electronic cutter. I LOVE my Silhouette CAMEO.

- Paint a light layer of chalk paint over the frame, and let dry. I didn’t paint it perfectly because I wanted it to be pretty distressed.

- Sand as desired.


- Add your saying to the chalkboard.

- Add ribbon, and hang!

Let the organization begin! If you like this idea, I hope you’ll join me at Mabey She Made It for more fun! See you next month!


I'd love to hear your thoughts–leave me a comment!