


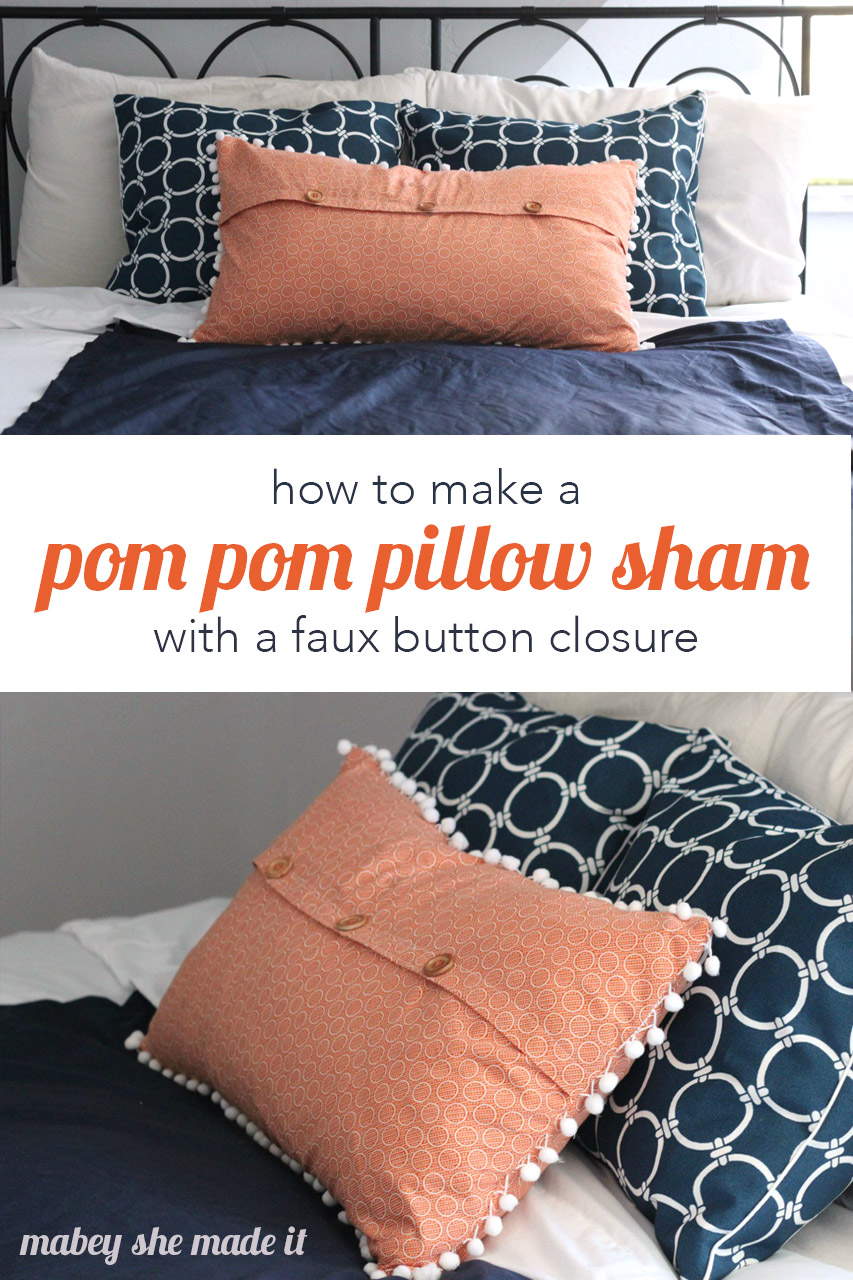
I’m currently working on decorating my master bedroom and I’m starting from scratch. The walls are a soothing light gray, and I wanted something fun to go with the walls. However, my husband vetoed lavender/plum as the accent color. Flat out forbade me. He wasn’t loving several other options either (nothing girly would do). But when I proposed navy/orange he was okay with it. So I’m having fun planning a room around these colors.


And that’s where this project came in. I knew I wanted a cute orange pillow sham, but when I was looking at home decor fabric, I wasn’t finding the right shade and pattern for the project. Enter quilting cotton. It’s the perfect fabric for what I was envisioning. Did you know that Jo-Ann Fabric and Pellon are sponsoring a Sew Your Style Contest this month? Well now you do! All you need to do to participate is create something non-traditional from quilting fabric (think purses, curtains, napkins, clothing, you name it!) and submit it here.
I often use quilting cotton for other purposes, so I was super excited when they asked me to participate and share a project. (Me? Seriously? Uh, yes please!)

Are you ready to make your pillow sham?
You’ll need:
- Sewing machine and thread
- Quilting fabric
- Pom pom trim
- Hook-and-loop tape (Velcro)
- 3 buttons
- Sewing tools (scissors, needle, iron, etc.)
Instructions:
- Cut one back and two front pieces from your fabric (mine were 26″ x 16″, 26″ x 12″, and 26″ x 8″)
- On the back piece (26″ x 16″), pin and baste your pom pom trim around the edge. Set this piece aside.


- Hem one long edge of both your front pieces (26″ x 12″ and 26″ x 8″). If you’re using a serger, you can finish the edge, then fold over and press a 1″ hem. If you’re using a sewing machine, fold and press 1/4″ and then fold and press again another 1″ for both pieces.


- On the shorter front piece, sew the softer loopy side of your Velcro to the hemline.


- Now evenly space and sew three buttons to the front of the hemline for decoration.


- Line up both your front pieces on top of the back piece (just to see how much overlap you have). Align the hook side of your Velcro where it will meet up with the loop side, and sew it down.


- Now stick the Velcro pieces together and place your front pieces (stuck together) on top of your back piece with right sides together. You’ll also want to make sure that all the pom poms are pushed to the inside. Now pin all the edges together, and sew.
- Turn your sham, press your seams, and insert your pillow form into your pillow sham!

The Velcro keeps the pillow sham together even after it’s been used so you don’t get gaps, which I personally hate. You can either put a partial strip or go the whole length. Either way, you get the finished look of buttons without the gaping (and you don’t have to make buttonholes either!)

I love this idea, thank you for sharing. Have a great weekend!
Thanks for the comment and for visiting!
Super cute. LOVE the pom poms.
Aww, thanks Marni. I love them too!
you are motivating me to get my machine out & make something! I haven’t made some new pillows in awhile & I love this post so I may just have to do that soon! Love the pillow! 😉
Do it, Laura!
i looove pom pom trim. I think it adds such a fun detail. Please come link it up at my brand new link party! http://www.carissamiss.com/2014/09/outside-box-link-party-no-1.html
I do too, Carissa! And thanks for the invite!
Oh I need you to rub off on me! I love all your sewing projects yet I never have the patience to sew myself. I love this Pillow sham. It looks awesome! 🙂
What an adorable pillow. I love pom poms!!
You make it look so easy! This is beautiful.
Your tutorials are WONDERFUL! They are easy to understand and I love all the pictures.
I love pom pons! I bet I could do this. I’m going to try it!!
SO fun! I want to pom all my pillows!
I LOVE this!! And the colors are just fabulous!
I just love love love pompom trim~ What a great tutorial, I totally love it~