


One of the best things about maternity t-shirts are how comfortable they can be. They’re stretchy, soft, and can be really cute when done right. And our Nesting to Newborns series wouldn’t be complete without some fun maternity looks added in there too. And what better than a maternity t-shirt refashion to keep you comfortable and looking unique.
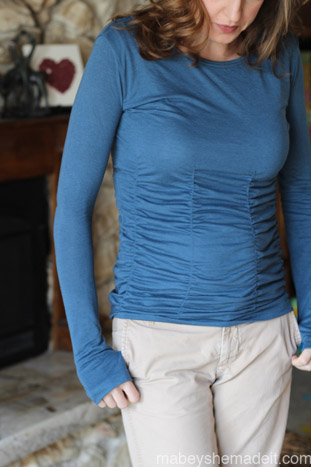
So now that my bump is growing daily, I’m finding myself in need of clothes with a bit more room. So I decided to remake one of my wardrobe staples, the Ruched T-shirt. Not only is this shirt extremely comfortable, it’s also really fun to wear because it’s a little different than most shirts. And it’s great for layering because of the texture it brings.
And since it’s made from a really large and long shirt, it’s fabulous all the way through delivery and after, covering your belly completely and then hiding and flattering your body right after your baby bundle arrives.
So let’s make one! I followed my Ruched T-shirt Refashion tutorial throughout, and then added a few fun additions to make it even more interesting. Ready?
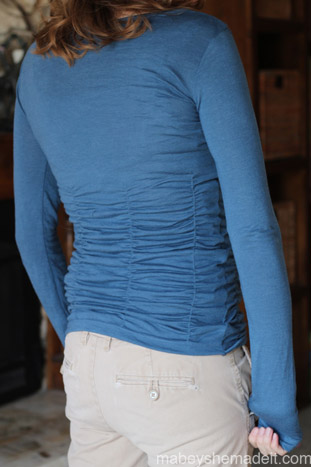
Just a note about where to put your ruching: You’ll want them equally spaced, but don’t forget about the side seams. In my case, the width of my sized-down shirt is 16″ across. So I divided that by 4 to get 4″ spacing on both the back and front. However, If you look below you’ll see that I placed my ruching lines 2″ from the side (rather than 4″) and then equally spaced them across the shirt. The reason behind this is because once you put the shirt on, you’ll have ruching continuously around the body of the shirt even taking into consideration the side seams, which won’t have ruching.

Okay, so after following the tutorial, you’ll have a completed shirt. However, my shirt still had one small issue–the shoulder seams were too long so the sleeves were hitting at the wrong spot. To fit with the theme of the shirt, I quickly added a quick line of ruching to each of the shoulder seams, and it gives a cute little gathered look while fixing my problem. Here’s where I placed my ruching:

Here you can see the slight gathers at the shoulder and how it helped me from looking like I was wearing a too-big shirt. 🙂

Then, since it was a long-sleeved shirt, I wanted to add thumb holes just because I adore them. To make them, I opened the sleeve seams about 1-1/2″ long then zig zag stitched around the entire opening. I also did a bar tack at the beginning and end of the opening so it wouldn’t open further.

Ta Da! Thumb holes for keeping hands warm and cozy.
So how does it look? I’m definitely going to get a lot of use out of this shirt!

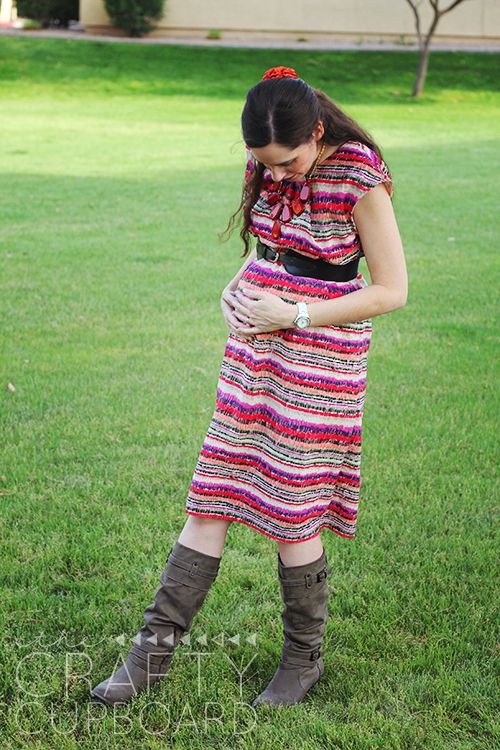
Now are you ready to see what Melanie has going on over at The Crafty Cupboard? It’s more maternity goodness so all you expecting mamas will have plenty of options to wear–go check them out!
We love, cause I uncovered exactly what I was taking a look regarding. You could have broken this Some working day very long search for! Lord Appreciate it dude. Possess a terrific working day. Ok bye